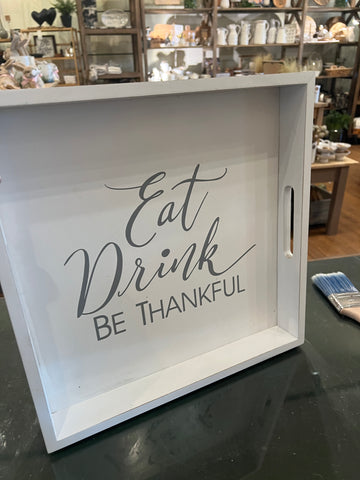
Somewhere along the line, we ended up with multiples of this tray. We’ve used them in so many ways at our boutique. When Annie Sloan launched her new Chalk Paint® color
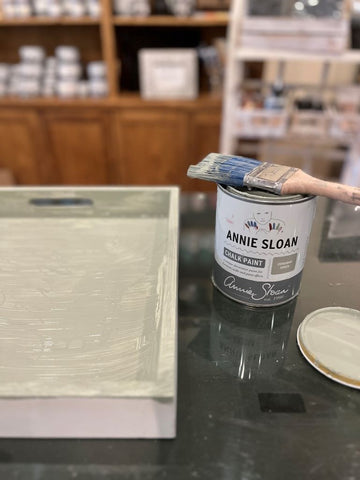
Coolabah last month, I searched the back room for something, anything, I could get my hands on to see what this new color was all about. And, was I happy!!! This color is so soft and pretty. It's a grey-green that has a bit of a blue undertone. It goes really well with
Country Grey and
Paris Grey as well as other colors in the
Annie Sloan palette. Perfect for a spring project!
Here's what I did.....
Because of it's heavy use, this tray needed a good cleaning. My fave product for that is Dirtex because it's spray on, wipe off, and done. No need to sand, I just started painting. Since there was writing on the tray, I painted a thin coat to serve as a primer before applying any of the mouldings. PRO TIP: I always paint a first coat before I attach any mouldings. Air dry clay used for the moulded pieces has a tendency to crack a bit when it dries. Sometimes you can see through to the piece and it's hard to fill those spaces in at that point. After learning the hard way, now I paint first coat and then start applying mouldings.
My Supplies
The tray was so simple, I thought it needed a couple of different moulding sizes to make them stand out. I wasn't so sure about that when I first started to glue them down. The white of the unpainted moulds really throws me off but I also know to just keep going. Everyday, I tell customer's at our shop to try and be easy on themselves when crafting. Usually when it's all finished and detailed, it comes together. I try not to take myself too seriously when crafting. It's really the time to relax and be creative that's important in our busy world. Projects take on a life of their own and sometimes we fall in love with them and sometimes they are just "ok". Either way, so worth the time!!!

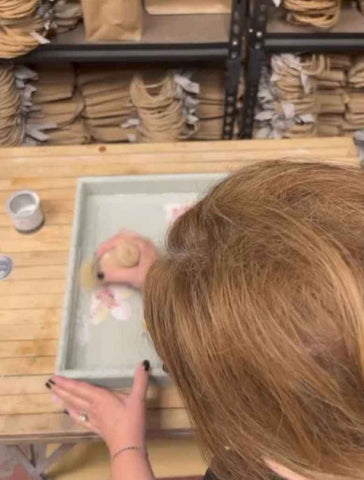
If you haven't used air dry clay before, I find it very soothing. Sort of like kneading dough for breadmaking. You break off a piece of clay, roll it around in your hands a bit to warm it up. Then I usually shape it into a ball and roll it out to the length I need and place it inside the mould. PRO TIP: Sprinkle a bit of flour or corn starch onto your mould before filling with clay. The moulded piece pops out so much easier. I then use Tite Bond Glue to attach the moulding to the trays. I like to let this set overnight at this point so the air dry clay firms up and the glue is completely dry. Also, the next day I gave the entire tray including the dried mouldings a second coat of paint. PRO TIP: When you mouldings are dry, you will notice a bit of shrinkage. You can add a bit more air dry clay and use a moulding tool or small knife to shape it to blend in. I have plenty of patches on this project. Once everything is painted and finished, you will never notice these tiny patches.

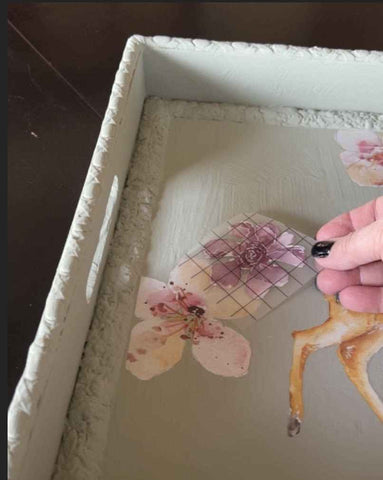
The next step is deciding which of the transfer images I want to use and lay them out to get an idea of balance, color, & overall design. It really does NOT have to be perfect. Have fun and whatever looks pleasing to your eye will work. Again, don't be hard on yourself....this is fun.....right? LOL
IOD Transfers are the absolutely best transfer product I've ever used. After I laid the image on the tray, I gently rubbed the image onto the surface and peeled the backing off. Wow, the image is firmed attached . Every package of transfers comes with the tool you need to make the transfer. The transfer package comes with pages of images that can be used together or mixed with other transfer patterns. They are easy to use and there is a HUGE assortment to choose from.
I wanted the mouldings to stand out a bit more so I used Annie Sloan White Wax to seal and add a bit of dreamy white patina to the project. It really gave it the finishing touch I was looking for .
This craft will take awhile to complete. You will need lots of dry time for paint, then moulds, then paint again....etc. It was fun and worth it. So excited to see what you think. Comment and let me know what you think and/or if you have any questions that I can help you with. Happy crafting everyone!! Gail


